
 37155
37155
Once you've registered for a Pokémon Scarlet & Pokémon Violet event, you may need to submit a team list in order to participate.
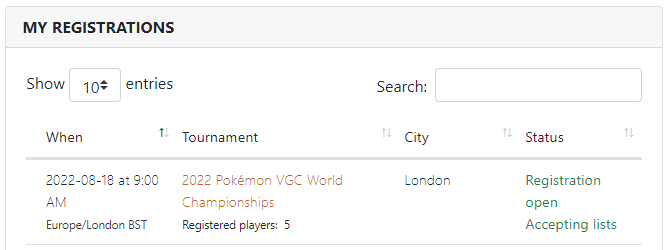
On your Player Dashboard, you can see the events you've registered for in the section labeled "MY REGISTRATIONS".
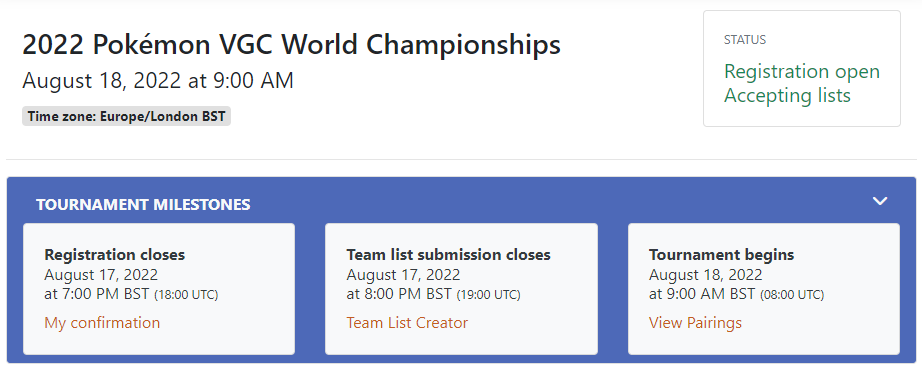
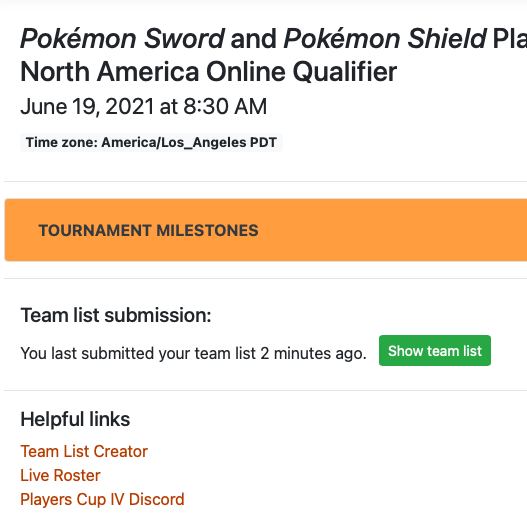
If you want to see a tournament's team list submission deadline, click on the tournament name to open your Tournament Dashboard.
The team list submission deadline is displayed in the middle box of the "Tournament Milestones" section.
How to create a team list
Once you are ready to create your list you will go to the Team List Creator.
The first section on the Team List Creator is titled "Your Registrations"
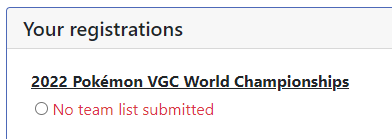
If you haven’t yet submitted a list, you’ll see a red warning No team list submitted under the tournament name.
You can submit a team by selecting the green "Submit Team" button underneath "Your Registrations", before you can do this you will need to add Pokémon to your team.
Add your Pokémon
To add a Pokémon to your RK9 account select the "Add New Pokémon" button.
Follow the Instructions sections to enter your Pokémon’s data.
If any of the stats or moves change between the time you add the Pokémon and the time you submit, you can easily edit a Pokémon to update anything before you submit your final list.
Note: Any edits made to a Pokémon after you have submitted your list will not be reflected in the submitted list. You will need to resubmit your list after you make changes.
You should enter the Pokémon's stats exactly as they appear in game, you do not need to use the level 50 stats unless that is the current level of the Pokémon.
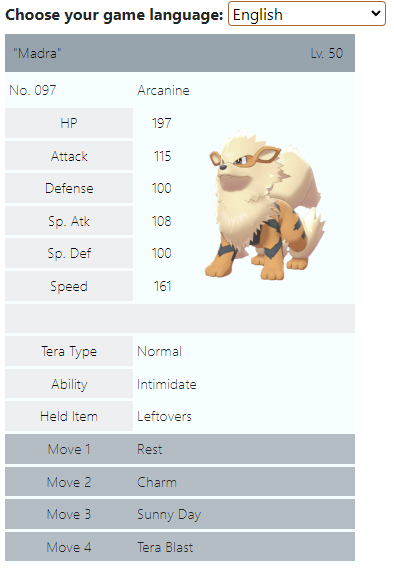
Be sure to read the Instructions and Notes sections to make sure you enter your Pokémon correctly.
Select your team
To select the Pokémon you want to add to your team, select the "Team" button on each Pokémon you want to use.
You can select the "Team" button again to remove a Pokémon from your team.
Please note that your team is not finalised until you have selected the Submit Team button.
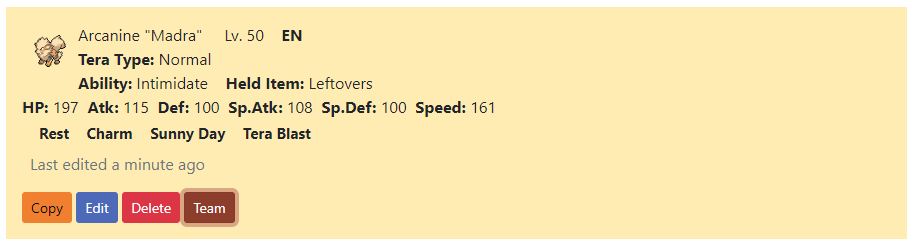
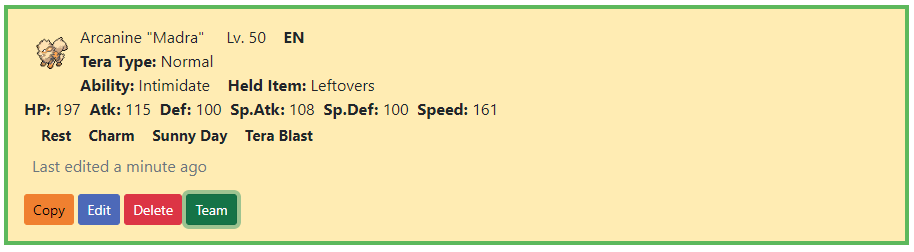
When the "Team" button turns green, and the Pokémon's box is outlined in green, the Pokémon has been added to the team!
Submit your team list
Once you have your team fully selected, choose the registration you want to submit your team to. Additionally you will be prompted to provide additional information before submitting your team list. After providing the necessary information, select the Submit Team button to submit your team list.
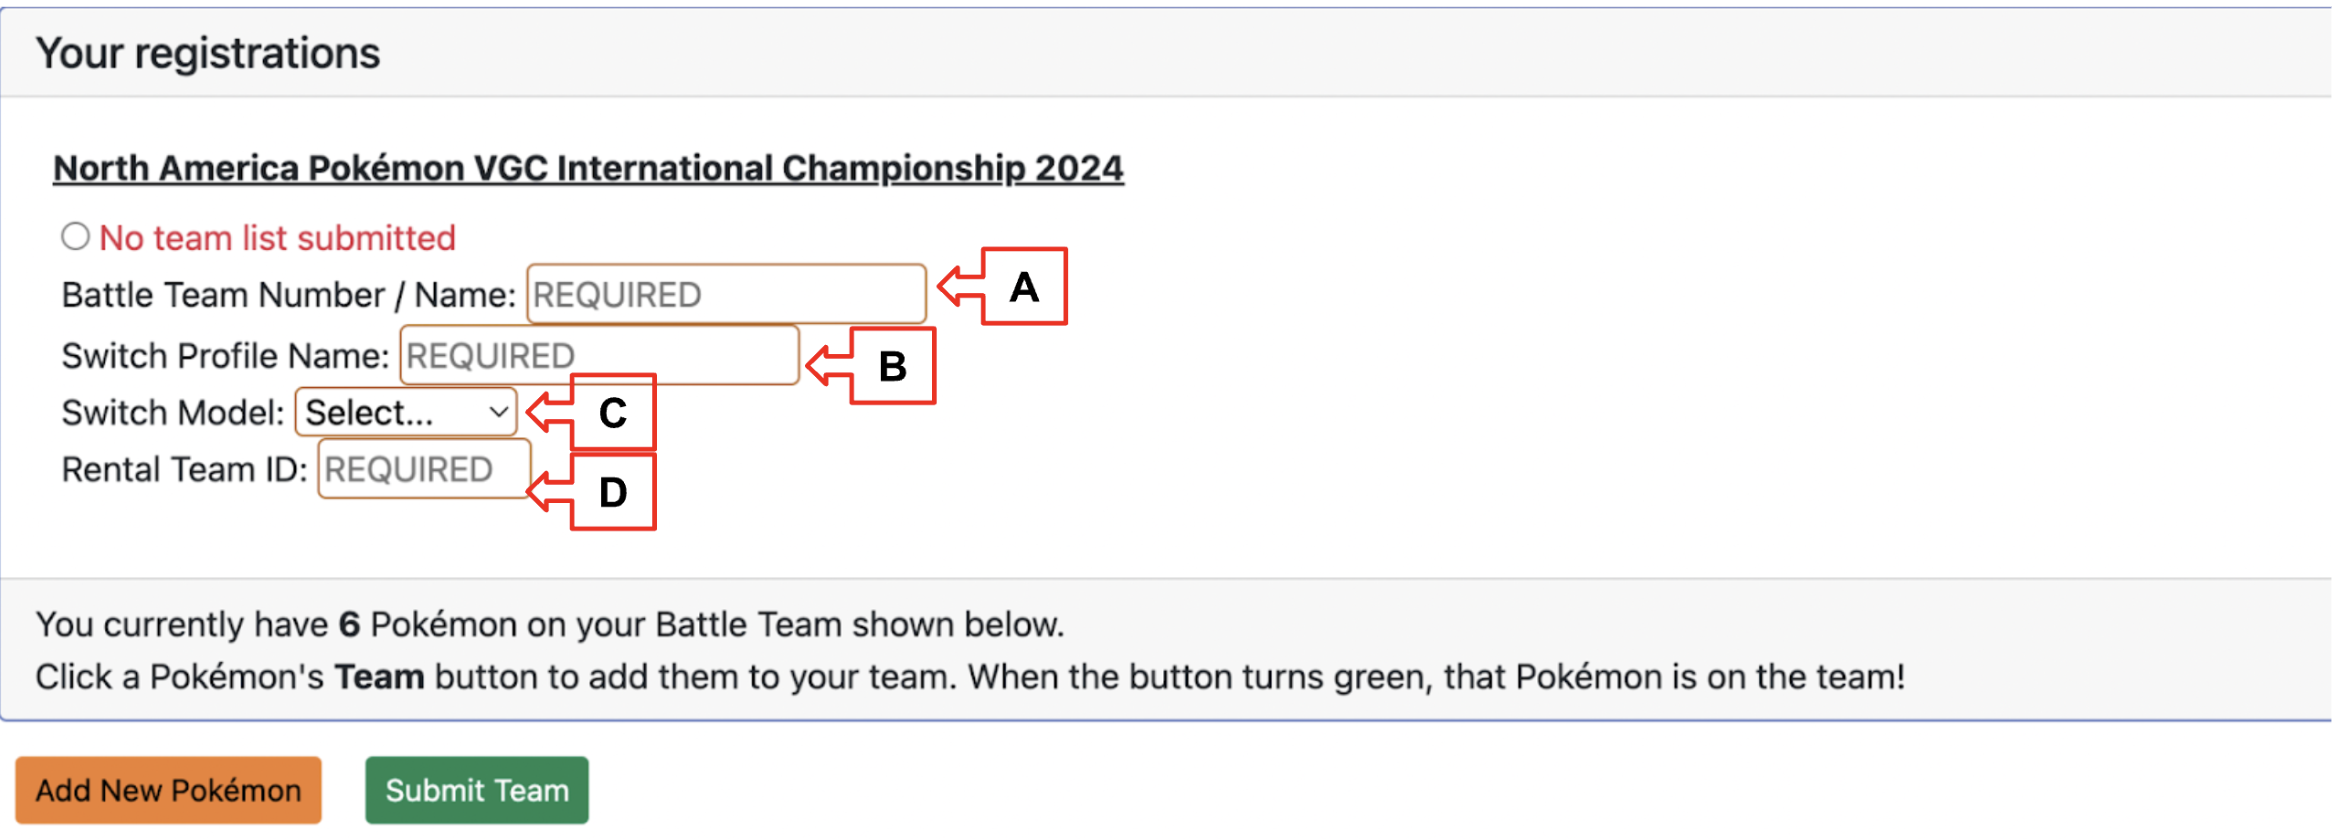
A. Battle Team Number/ Name: The name given to the Battle Team box you wish to register.
B. Switch Profile Name: The profile you select when launching a game on the Switch console.
C. Switch Model: Select the Switch model that will be used (Switch/Switch Lite)
D. Rental Team ID: This is the code provided when you have shared your team online. For more information on how to create this code, please review the Creating a Rental Code portion of this article.
Please note - the order the Pokémon are shown on your team list does not need to match the order shown in-game on your Switch.
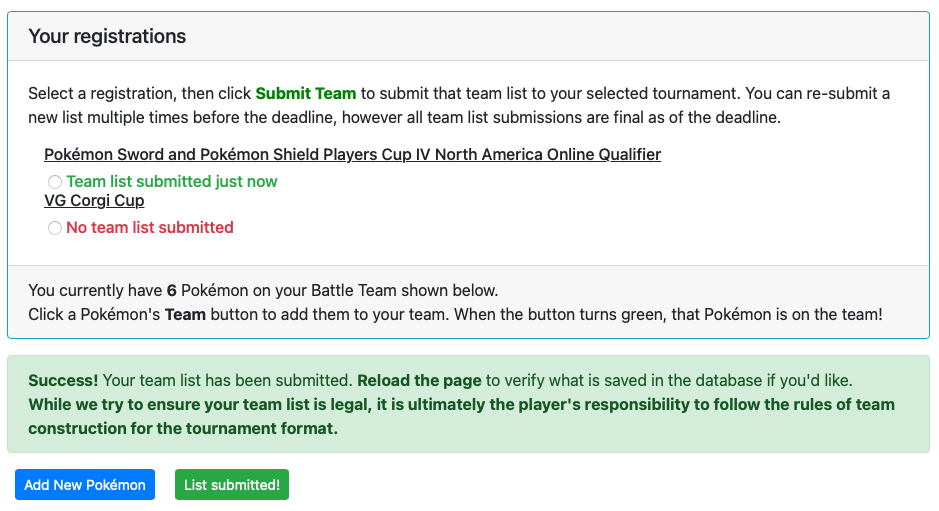
Success! You’ll see the green Success! message once your team list submission is complete.
The registration that you submitted your team list to will also show the message "Team list submitted".
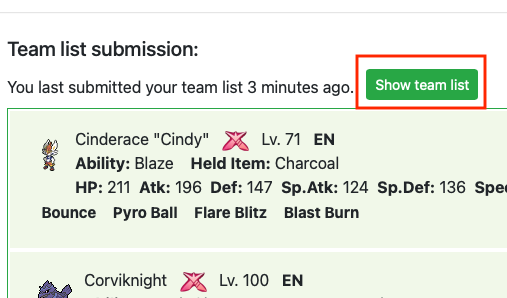
You can view your submitted list from the Tournament Dashboard after you have submitted it.
The Team list submission section will show when you submitted it; click the "Show team list" button to view your current submitted list.
You can also view your team list from Team List Creator—the same Show team list button will be there when you return to Team List Creator.
Creating a Rental Code
Adding a rental code to your Pokémon Video Game Team List is required at most higher level tournaments and adds an extra level of security and integrity. Knowing how to create and provide an accurate rental code is crucial when submitting a team list. Providing an inaccurate rental code may result in a tournament penalty.
First, go to the Main Menu and select Poké Portal.

Next, scroll down and select Battle Stadium from the left side menu.

From the Battle Stadium menu select Rental Teams, then select Share your Battle Teams.


Select one of the five Shared boxes which will then prompt you to select the Battle Team you wish to place in the Shared box. This should be the team you have selected to compete with.


Confirm your Battle Team choice by selecting the Battle Team, then select Share from the prompted menu and confirm your selecting by clicking Yes.

Finally, to receive the Rental Code, select the Shared box the competitive team was placed in, then select Check details from the prompted menu. This will display the rental team and the Rental Code which will be located in the top right hand corner of the screen. This six character code will need to be entered into your team list submission when prompted.


